How to use the Browser Console
Browser Console is the analog of command-line interface, but for the whole browser you use. Console allows logging diagnostic information (which helps to debug your web pages), such as:
- HTTP requests
- warnings and errors (including CSS, JavaScript, security warnings, etc.)
- input/output messages (commands sent to the browser via the command line and the results of their execution)
Additionally, Browser Console displays the messages which are related to the browser’s own code and to its addons. It is available in all updated browsers, such as Chrome, FireFox, etc.
If some of the files are not displayed properly on your website (images, CSS, .js etc.), Browser Console may be a good debugging tool. The following tutorial will show you how to use it in order to debug certain issues.
Images are not displayed
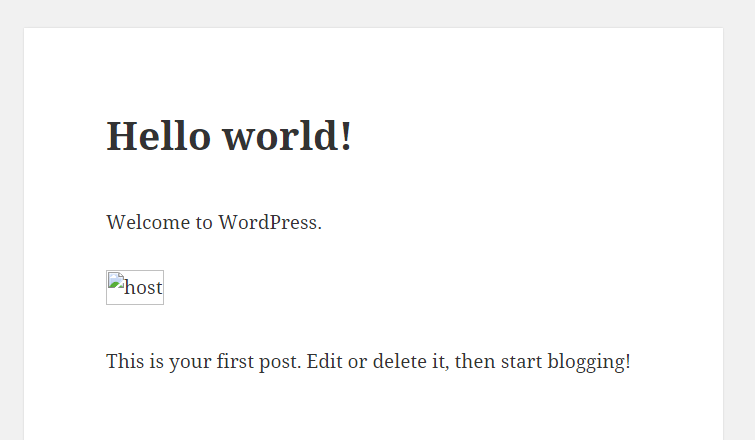
The images on your web-page(-s) may be displayed improperly due to different reasons. The most obvious one is the incorrect or not existing path via which the image should be loaded.
Here is an example how it can be displayed in Google Chrome:

Open the Browser Console by hitting Ctrl+Shift+J and navigate to the Console tab:

Pay attention to the error message in red . It means that host-300×241.jpg image in our example could not be found via the path displayed to the right of the error itself.
To get it fixed, you should check if the path is correct and whether the image is uploaded at all:
1. Log into your cPanel.
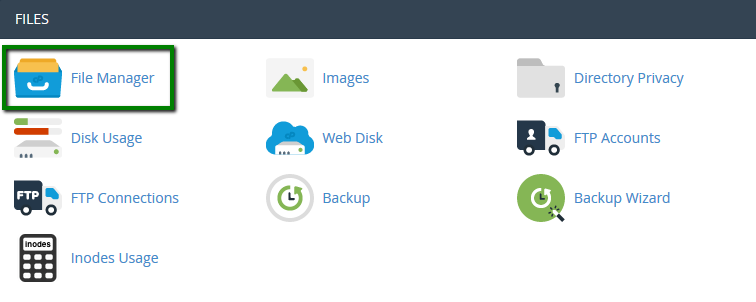
2. Navigate to Files section and click on File Manager menu, navigate to your website root folder then:

3. Use the in-built search feature to find the exact image which failed to load:

NOTE: Make sure you search by the exact name of the image the browser tried to send the request to.
4. Once the output of the search is shown, check carefully the exact directory the file is located in.
Website background is not displayed
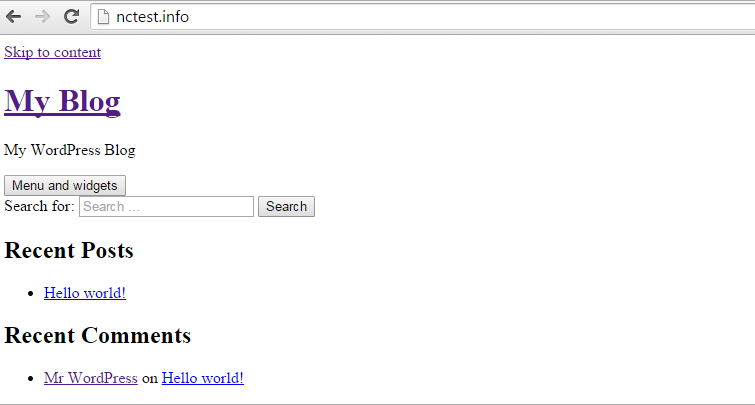
Sometimes your website does not have a proper design due to corrupted or incorrectly configured CSS. In this case, your webpage may be displayed as follows:

1. Open the browser console by hitting Ctrl+Shift+J and navigate to the Console tab:

2. Pay attention to the error in red. It refers to the not found style.css file. Navigate to your cPanel File Manager and use in-built search to find the required CSS file.
NOTE: If you have several installations, you may get several files at once in the output, which will be not convenient. Check the one which would be most appropriate for your installation.
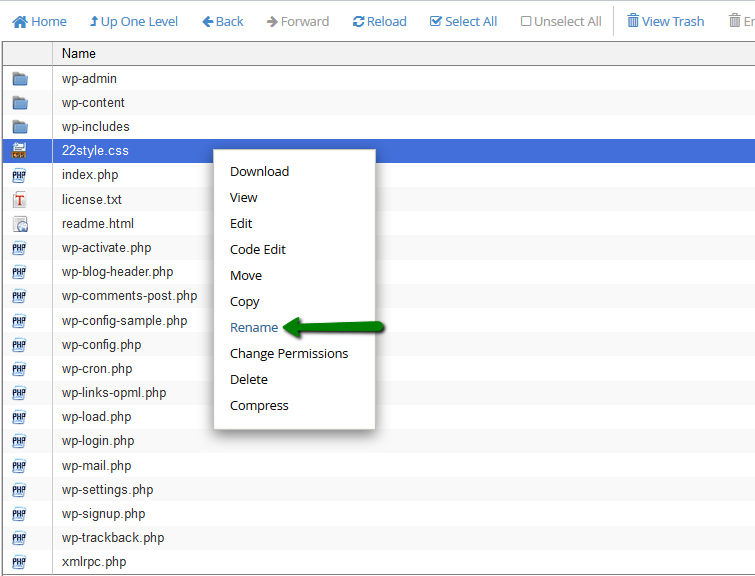
3. Make sure that the file is named style.css (in our example) and located in the correct path. Rename it if needed:

4. Check your website then.
That’s it!
Need any help? Contact our HelpDesk