How to set up private nameservers (VPS and Dedicated servers)
If you have a VPS or Dedicated server with us, you can register your own nameservers (ns1.yourdomain.com and ns2.yourdomain.com).
First of all, you need to obtain IP addresses to point your private nameservers to. You can check them in the Server Welcome email or contact us via HelpDesk in order for the Hosting team to double-check them for you.
Once you have IPs at hand, you can go ahead and register the nameservers on the side of your domain registrar.
If your domain is registered with another company, please get in touch with them for the nameservers setup assistance.
Lastly, when the nameservers are registered, you need to set them up on the server:
1. Log into WHM and go to the DNS Functions section > Edit DNS Zone menu.
2. From the drop-down list, choose the domain you would like to set the nameservers for, click on Edit.
3. Update SOA record indicating your primary nameserver and the usable email address:

4. Then create A records for ns1.domain.com and ns2.domain.com pointing to the IP addresses you used while registering the nameservers and Save the Changes:

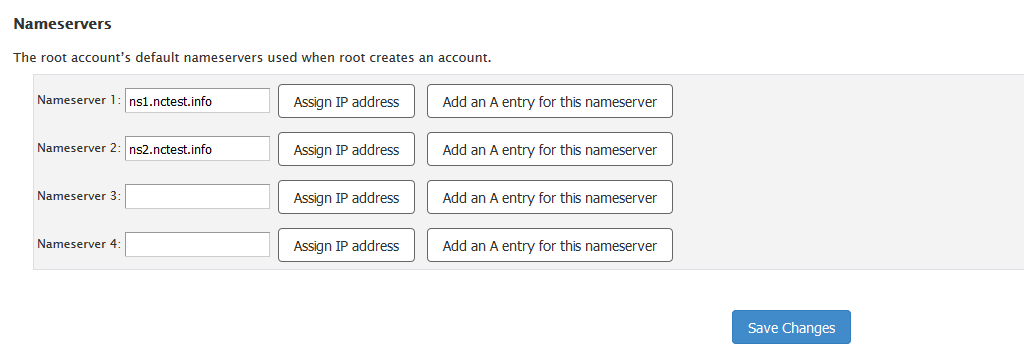
5. If you would like the personal nameservers to be automatically applied for all newly created cPanel accounts (and required to be set for all addons before adding them to cPanel), go to the Basic cPanel & WHM setup menu in WHM and add your personal nameservers:

Allow 24-72 hours for the DNS changes to propagate worldwide and enjoy your hosting.
That’s it!
Need any help? Contact our HelpDesk